Kong: How to Install Open Source Kong with Database on Kubernetes
By 8grams Tech
Kong is an API gateway that offers flexibility in how it's deployed, which is crucial in managing and routing API requests in modern software architectures.
Introduction
Kong is an API gateway that offers flexibility in how it's deployed, which is crucial in managing and routing API requests in modern software architectures. The two primary deployment methods for Kong are with a database (DB) and without a database (DB-less), each catering to different needs and scenarios.
When Kong is used with a database, it stores its configuration data—like routes, services, and plugins—in a relational database such as PostgreSQL or Cassandra. This setup is particularly useful for environments where configurations are dynamic and need to be updated frequently without restarting the system. It's also well-suited for large-scale environments due to its robust handling of complex configurations. Additionally, this mode provides an Admin API and a dashboard, making management and monitoring more accessible.
On the other hand, the DB-less deployment of Kong uses a declarative configuration file, typically in YAML or JSON format. This approach aligns well with practices that favor immutable infrastructure, like those often found in Kubernetes environments. The absence of a database can lead to faster performance, as it removes a potential point of latency. It's a simpler setup, reducing the overhead of database management, and is often preferred in smaller or more static environments where configurations don't change frequently.
Kong with DB vs DB-less
Choosing Kong with a database over its DB-less counterpart depends on several factors that align with specific operational needs and environments. Here's why one might opt for Kong with a database:
- Dynamic Configuration Management: Kong with a database allows for real-time, dynamic changes to configurations. This is crucial in environments where API routes, services, or plugins need to be updated frequently without restarting the gateway.
- Large-scale and Complex Deployments: For larger deployments with complex configurations, a database-backed setup offers better manageability. It can handle a high volume of configuration changes and intricate routing scenarios more effectively.
- Advanced Management Capabilities: With a database, Kong provides an Admin API and an optional dashboard (Kong Manager) for easier management. These tools offer a more user-friendly interface for configuring and monitoring the API gateway.
- Integration and Extensibility: A database setup can integrate more seamlessly with other tools and systems. It's also more extensible, allowing for custom plugins and integrations that might require database storage.
- Persistence and Reliability: A database provides persistent storage of configuration data, which can be crucial for backup, recovery, and audit purposes. In case of failures, it's easier to restore configurations from a database.
- Scaling Capabilities: While both DB and DB-less setups can scale, the database approach offers more robust scaling options, especially for complex configurations that might change under different load conditions.
| Aspect | Kong with DB | Kong DB-less |
|---|---|---|
| Configuration Storage | Uses a database (like PostgreSQL or Cassandra) to store configuration data. | Utilizes a declarative configuration file (YAML or JSON). |
| Dynamic Configuration | Supports dynamic changes to configuration at runtime without restarting Kong. | Configuration changes require reloading or restarting Kong. |
| Scalability | Better suited for large-scale environments with complex and frequently changing configurations. | Ideal for smaller or more static setups where configurations don't change often. |
| Performance | Potentially slower due to database-related latency. | Faster performance as it eliminates the database as a point of latency. |
| Management Interface | Offers an Admin API and optional dashboard (Kong Manager) for easier management. | Management is primarily done through editing the configuration file. |
| Deployment Complexity | More complex to deploy and manage due to the need for database maintenance. | Simpler deployment and maintenance since there's no database to manage. |
| Reliability | Relies on the database for storing and retrieving configurations, which can be a single point of failure. | As configurations are file-based, there's no single point of failure related to database dependency. |
| Backup and Restore | Easier to backup and restore configurations as they are stored in a centralized database. | Requires file-based backup and restore procedures. |
| Use Case | Suitable for environments requiring high flexibility and dynamic changes. | Better for environments emphasizing immutability and simplicity, like Kubernetes. |
| Infrastructure Alignment | Aligns well with traditional and dynamic cloud environments. | Aligns with modern, cloud-native, and containerized environments. |
Install Open Source Kong with Database on PostgreSQL
Based on our experience, the installation of Kong with a Database on Kubernetes, particularly its open-source variant, can be challenging. This process often involves navigating through certain glitches and undocumented steps, which can complicate the installation. This tutorial aims to guide you through installing Kong with a Database on Google Kubernetes Engine (GKE) and Amazon Elastic Kubernetes Service (EKS), addressing these complexities to simplify the process.
Preparation
The only prerequisite is to install Cert-Manager on Kubernetes. Kong will utilize TLS certificates issued by Cert-Manager to secure connections within the cluster and for requests originating from outside the cluster.
~$ helm repo add jetstack https://charts.jetstack.io
~$ helm repo update
~$ helm install cert-manager jetstack/cert-manager --namespace cert-manager --create-namespace --version v1.5.3 --set installCRDs=true
Create a self-signed Cluster Issuer for use with Kong.
Install it
~$ kubectl -n kong apply -f kong-selfsigned-issuer.ymlAdditionally, create a dedicated namespace for the Kong installation.
~$ kubectl create namespace kongPreparation on GKE using CloudDNS
First, ensure that Cloud DNS is enabled in your Google Project. Additionally, before proceeding, confirm that the necessary records have already been created in Cloud DNS, as they will be required in subsequent steps.
- kong.example.com
- gateway.kong.example.com
- developer.kong.example.com
- *.kong.example.com
Next, we will create a Service Account with DNS permissions and generate a Service Account Key. This key will enable the issuance of TLS certificates via Cloud DNS. We will accomplish this using Terraform. The following Terraform code illustrates how to perform these actions:
Apply it
~$ terraform applyFinally, create a Certificate Issuer for Kong. This issuer will enable Kong to issue TLS certificates for endpoints that are accessed from outside.
Apply it
~$ kubectl -n kong apply -f kong-issuer.ymlPreparation on EKS using Route53
For this scenario, we only need an AWS IAM account with the appropriate permissions. You can find the full tutorial here: https://cert-manager.io/docs/configuration/acme/dns01/route53/.
Then, we can create Cert Issuer
And apply it
kubectl -n kong apply -f kong-issuer.ymlEnable AWS EBS CSI Driver on EKS. If your cluster already enabled it, then you can skip this step.
~$ EKSCLUSTER=my-eks-cluster

~$ eksctl utils associate-iam-oidc-provider --region=ap-southeast-3 --cluster=$EKSCLUSTER --approve

~$ eksctl create iamserviceaccount \
  --region ap-southeast-3 \
  --name ebs-csi-controller-sa \
  --namespace kube-system \
  --cluster $EKSCLUSTER \
  --attach-policy-arn arn:aws:iam::aws:policy/service-role/AmazonEBSCSIDriverPolicy \
  --approve \
  --role-only \
  --role-name AmazonEKS_EBS_CSI_DriverRole

~$ eksctl create addon --name aws-ebs-csi-driver --cluster $EKSCLUSTER --service-account-role-arn arn:aws:iam::$(aws sts get-caller-identity --query Account --output text):role/AmazonEKS_EBS_CSI_DriverRole --force
Install Kong
Now, let's proceed with the Kong installation. Kong requires PostgreSQL for data persistence. For the sake of simplicity in this tutorial, we will deploy a non-scalable PostgreSQL instance directly using Helm. However, for a production-grade Kong deployment, it's advisable to use a dedicated PostgreSQL database cluster. We recommend exploring Cloud Native PostgreSQL, as detailed in the following article:
Ensure you have Helm installed on your machine, as we will use it to install Kong. Next, install the Kong Config Secret. Additionally, we will create a Kong Enterprise License with an empty value, indicating that we are using the Open Source Version of Kong.
~$ kubectl create secret generic kong-config-secret -n kong \
    --from-literal=portal_session_conf='{"storage":"kong","secret":"super_secret_salt_string","cookie_name":"portal_session","cookie_same_site":"Lax","cookie_secure":false}' \
    --from-literal=admin_gui_session_conf='{"storage":"kong","secret":"super_secret_salt_string","cookie_name":"admin_session","cookie_same_site":"Lax","cookie_secure":false}' \
    --from-literal=pg_host="kong-postgresql.kong.svc.cluster.local" \
    --from-literal=kong_admin_password=kong \
    --from-literal=password=kong

~$ kubectl create secret generic kong-enterprise-license --from-literal=license="'{}'" -n kong --dry-run=client -o yaml | kubectl apply -f -
Add Kong Helm Chart
~$ helm repo add kong https://charts.konghq.comAnd then, create a file values.yml to override default Helm
Install it
~$ helm install kong kong/kong --namespace kong --values values.yamlCheck installation
~$ kubectl -n kong get pods
NAME READY STATUS RESTARTS AGE
kong-kong-324kl324lk-39dkm 2/2 Running 0 10m
kong-kong-init-migrations-30sk3 0/1 Completed 0 10m
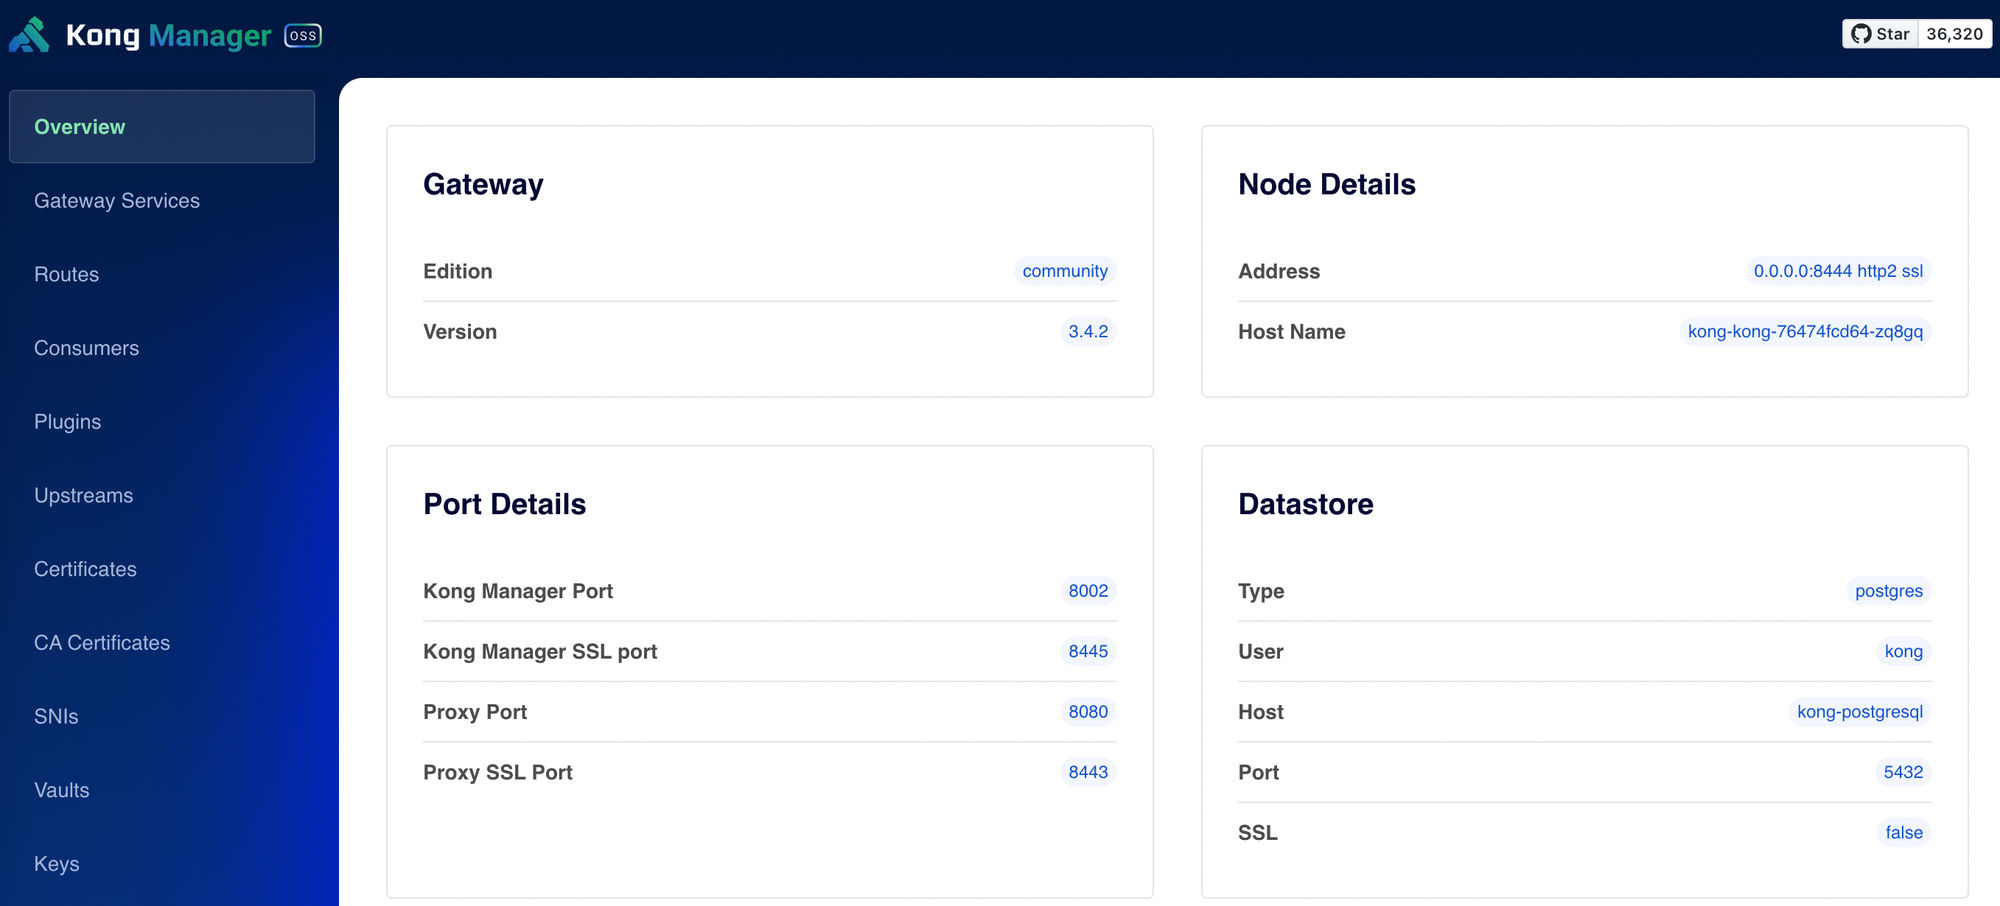
kong-postgresql-0 1/1 Running 0 10mGreat! You should now be able to access the Kong Manager GUI at https://gateway.kong.example.com/.
Also, test the API by making a request using curl.
~$ curl -v https://gateway.kong.example.com/apiNow, you have successfully installed Kong API Gateway with a Database in your Kubernetes Cluster.
Frequently Asked Questions
What is Kong API Gateway?
Kong is an open-source API gateway that sits in front of your services to manage, secure, and route API traffic. It handles concerns like authentication, rate limiting, and load balancing through plugins. Kong can run on Kubernetes and supports two modes: database-backed deployments and DB-less deployments driven by a declarative configuration file.
What is the difference between Kong with a database and Kong DB-less?
Kong with a database stores configuration in PostgreSQL or Cassandra, supporting dynamic runtime changes and an Admin API with the Kong Manager dashboard. Kong DB-less uses a declarative YAML or JSON file instead, offering simpler deployment, faster performance, and no database to maintain. DB mode suits dynamic environments; DB-less suits static, cloud-native setups.
How do you install Kong with a database on Kubernetes?
To install database-backed Kong on Kubernetes, you deploy a supported database such as PostgreSQL or Cassandra, run Kong's migrations to initialize the schema, then deploy Kong configured to connect to that database. Kong then exposes its Admin API for dynamic configuration, letting you manage routes, services, and plugins at runtime without restarts.
When should you use Kong DB-less mode?
Use Kong DB-less mode when you want simplicity, immutability, and cloud-native alignment, especially on Kubernetes. Because configuration lives in a declarative file rather than a database, deployment and maintenance are simpler, performance is faster without database latency, and there is no database single point of failure. It fits smaller or static setups with infrequent config changes.
What is an API gateway used for?
An API gateway is a single entry point that sits in front of backend services and manages incoming API traffic. It handles cross-cutting concerns such as authentication, rate limiting, routing, and load balancing, so individual services do not have to. Gateways like Kong centralize these responsibilities, improving security, observability, and control over microservices.
National team shirts can hold memories of tournaments, cities, and shared celebrations especially when supporters associate it with a title race or a European night. A classic Rangers design can remind supporters of league campaigns, European nights, and local rivalries. For fans weighing fit, fabric, and team identity, Real Madrid away shirt is a useful phrase within the wider story of football shirts. The design conversation makes room for both modern technology and older football memories.